Creating a portal
I want to create a scene in unreal engine showcasing my model, to do so I want to make sure that the person can explore the scene, something small and easy
I started working on a small portal, i used a reference to work with and started making a model.

I sued this as a reference but i don like the way it looks, so i decided to look for a better reference


I started by importing the image and creating the first rune shape

I managed to create a basic shape of the model

I started adjusting the model and I added some details to make it more fantasy

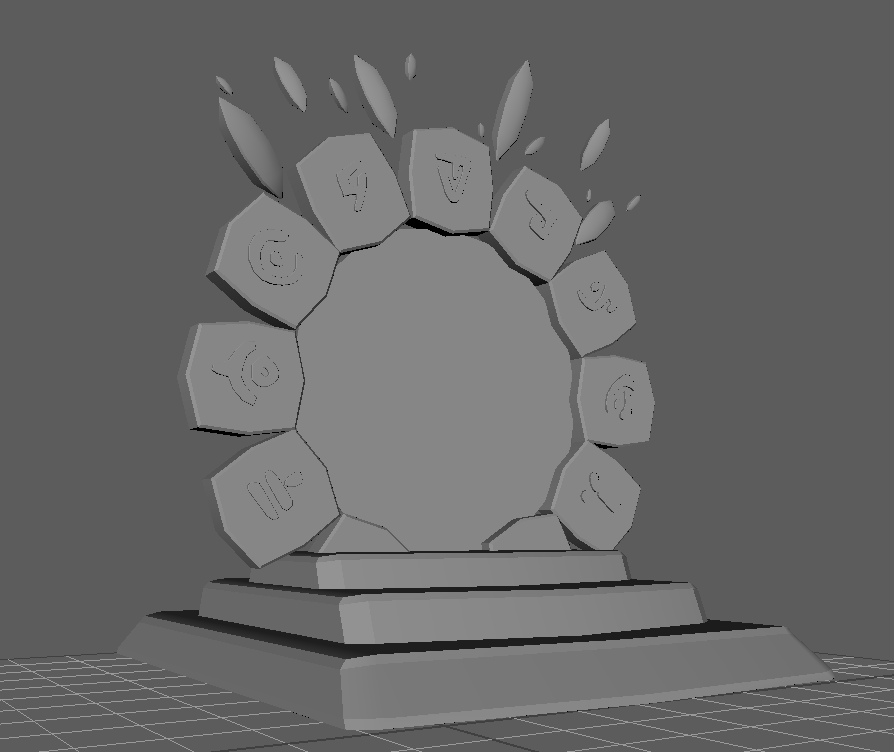
I started creating the base runes for the model using a reference I found on Pinterest.

I now have the runes.

I made sure to UV map everything on one page


The model is ready to be exported
I created a New Unreal Engine project called Mystic Realms, I will include all my new models in this scene and I will showcase the progress I make by importing them into Unreal Engine, I will also continue uploading my models on Sketchfab.
The model fits Unreal Engine 5 scale correctly and I'm happy with it.

I followed this tutorial to make the Model feel like a real portal.

I created a high poly version of the model, i made sure to add extra edges around the model, but I DID NOT smooth the model in maya, instead i exported the model as FBX file to ZBrush

I then imported the model in ZBrush an started adding details.


I used this tool: Texture Set Combiner to have all my materials in one texture file for each format.

Then i uploaded my model on sketchfab. I made sure to use a version of the model with all combined meshes and the model has only one material that covers all the parts.


Comments
Post a Comment